The latest release of the Intacct connector for Scribe Online adds the ability to interact with custom objects built inside of Intacct.
This guide will show you how to set up the custom objects for use inside of Scribe Online.
1) Find the integration name of the custom object.
Within Intacct, navigate to Platform Services > Objects > List. On this page, you can use the drop-down filter to select a particular application that contains the object(s) we are looking for. Leave this page open to make it easier to copy the value from the ‘Integration Name’ column.

2) Add or edit an Intacct connection inside Scribe Online.
In another browser tab, open up Scribe Online and edit the connection you want to have support for the custom object (or add a new connection). Add the end of the connection form, you should see a field called ‘Custom Object Types’.
3) Add your integration names to the list of custom objects.
Copy and paste your custom objects into the Scribe Online field, separating each with a comma (but no spaces). Test and save the connection.

4) Test your new custom object.
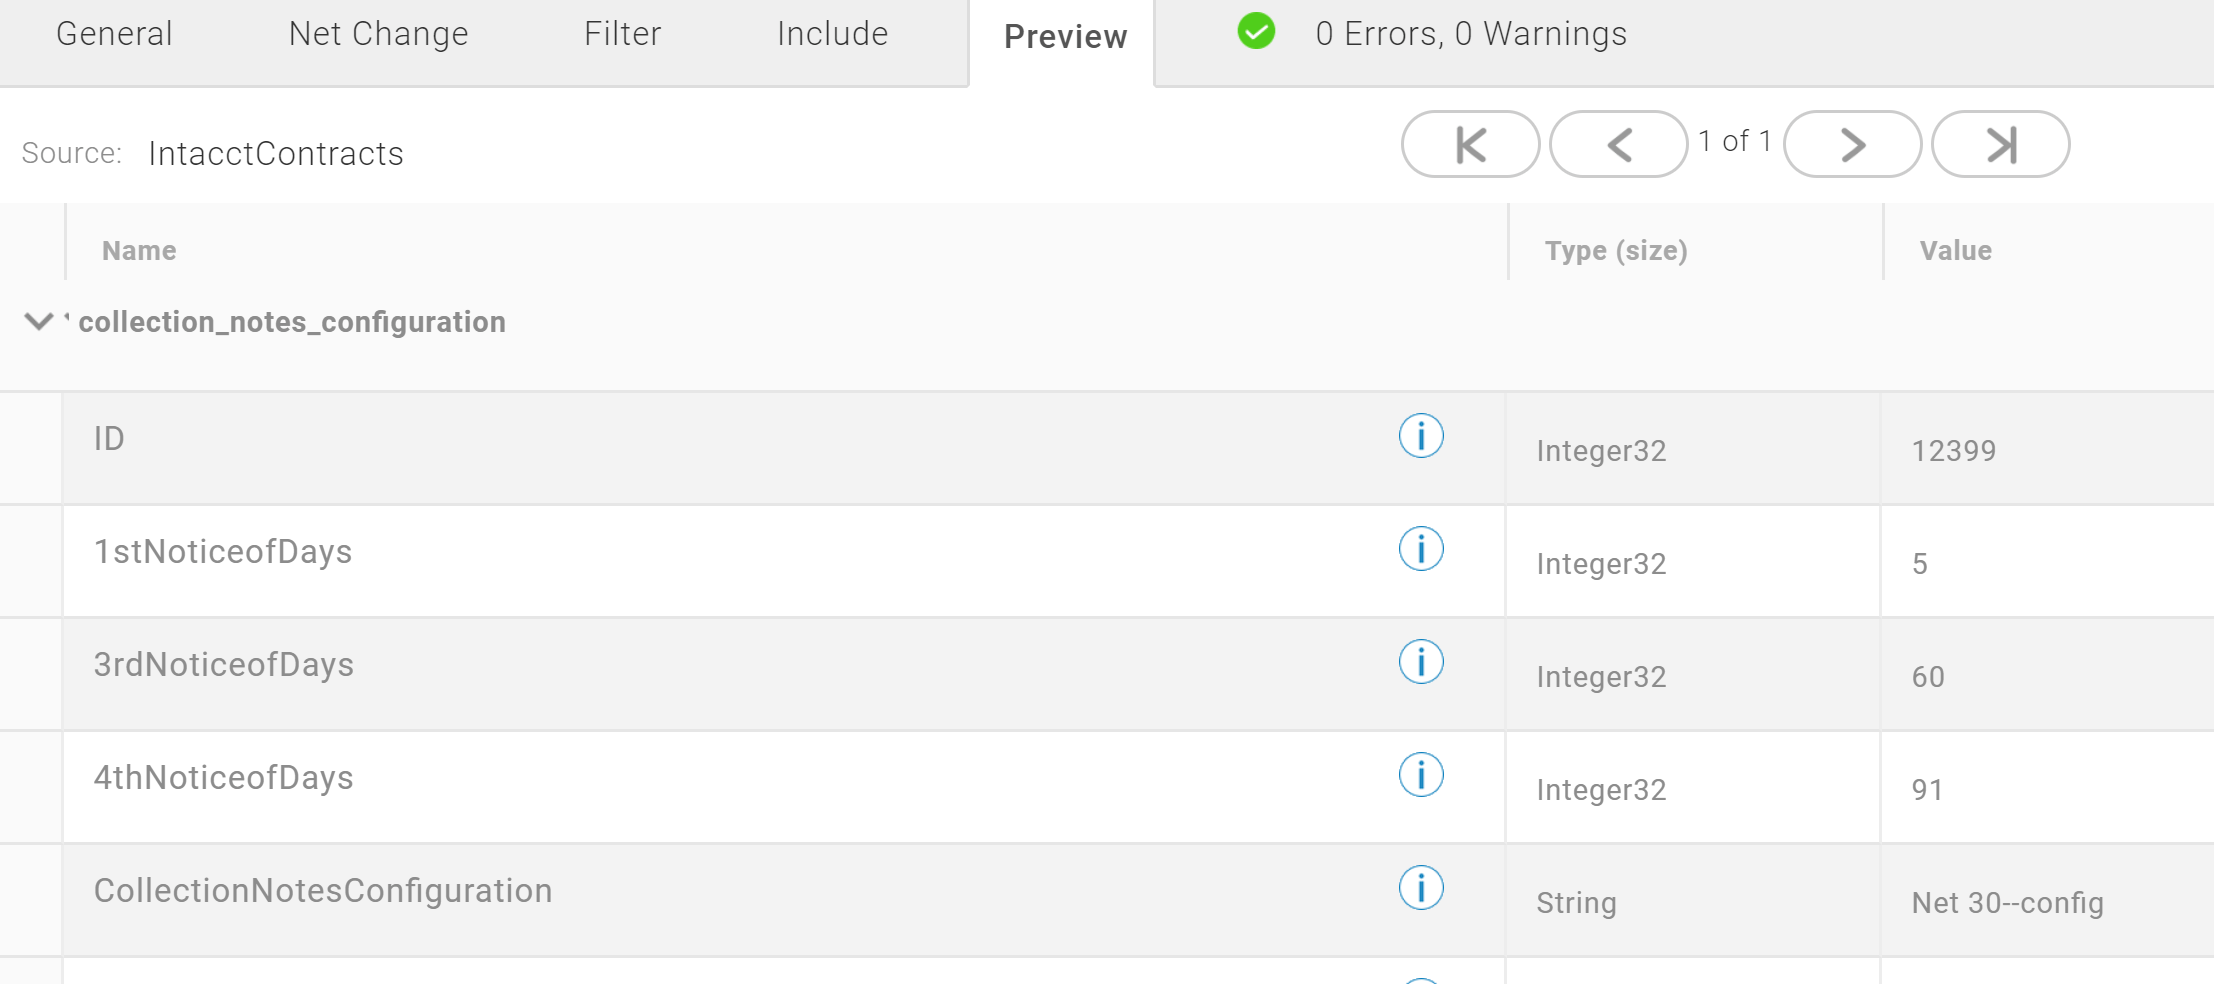
The account that Scribe Online is using to access Intacct must have the appropriate permissions to access the custom object. Otherwise, your custom object will be available for use in the same manner as any of the other standard Intacct objects.


